本文最后更新于 161 天前,其中的信息可能已经有所发展或是发生改变。
为什么写这篇文章
最近有不少小伙伴浏览我的个人主页后,纷纷留言询问那些会发光和倾斜的按钮是怎么做出来的。确实,这些带有动态光效的按钮不仅视觉效果出众,还能为访问者提供直观的交互反馈,让整个页面的体验更加生动
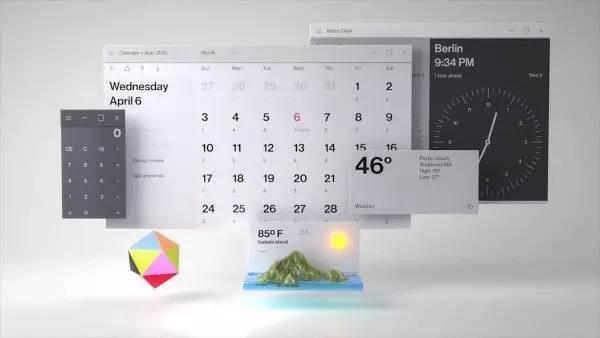
作为一个前端爱好者,我特别钟爱Windows UWP应用那种简洁现代的设计风格。UWP界面中最具标志性的就是那些会跟随鼠标位置产生微妙光效的按钮,当光标移动时,光效如影随形;点击时,按钮还会给予恰到好处的倾斜反馈,这种细腻的交互细节令我感到舒适
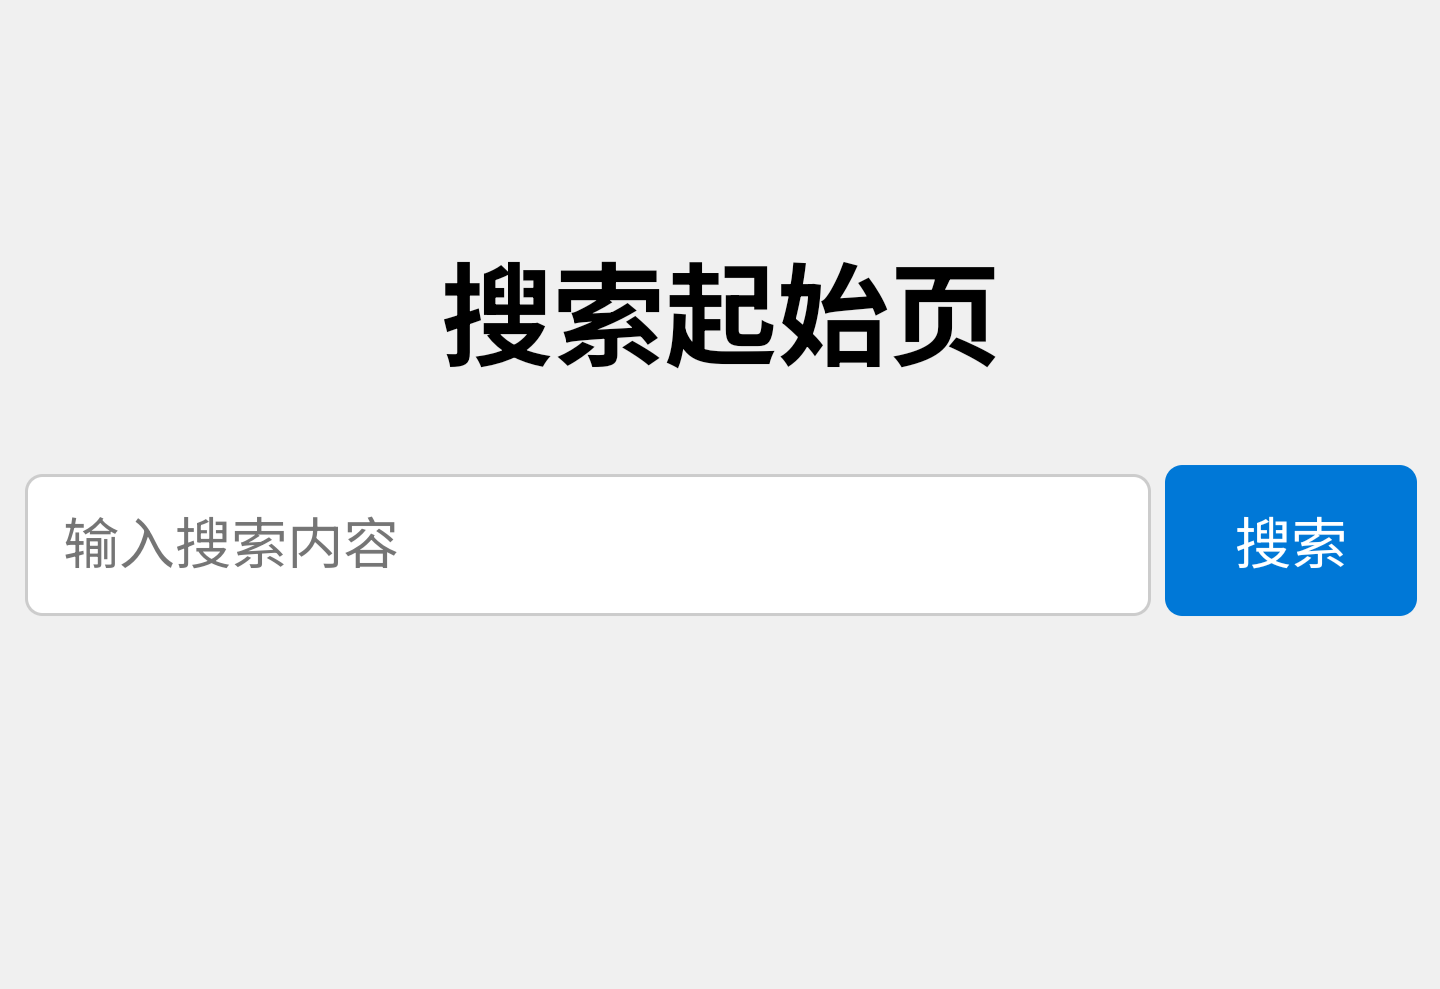
效果预览
UWP应用的按钮具有以下特点:
- 鼠标悬停时出现柔和的光效,光效会跟随鼠标指针位置
- 点击时按钮会根据点击位置产生3D倾斜效果
- 平滑的过渡动画,提供流畅的视觉反馈
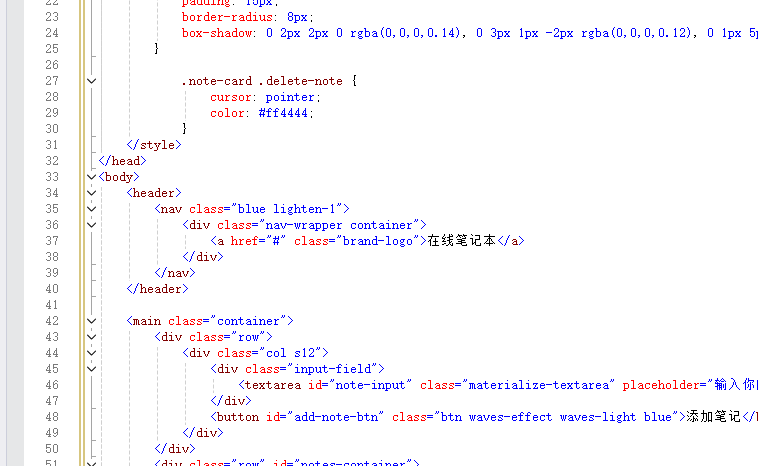
HTML结构
首先,我们设置基本的HTML结构:
<div class="uwp-button-container">
    <button class="uwp-button" id="tiltButton">点击我</button>
</div>
CSS样式
核心样式部分实现了按钮的基础外观和光效:
.uwp-button {
    position: relative;
    padding: 12px 24px;
    background-color: #0078d7;
    color: white;
    border: none;
    border-radius: 4px;
    font-size: 16px;
    font-weight: 500;
    cursor: pointer;
    transition: transform 0.2s ease, box-shadow 0.2s ease;
    transform-style: preserve-3d;
    box-shadow: 0 2px 5px rgba(0, 0, 0, 0.2);
    overflow: hidden;
}

.uwp-button::before {
    content: '';
    position: absolute;
    top: 0;
    left: 0;
    width: 100%;
    height: 100%;
    background: radial-gradient(
        circle at var(--mouse-x) var(--mouse-y),
        rgba(255, 255, 255, 0.3) 0%,
        rgba(255, 255, 255, 0) 70%
    );
    opacity: 0;
    transition: opacity 0.3s ease;
    pointer-events: none;
}

.uwp-button:hover::before {
    opacity: 1;
}
关键点解析:
::before伪元素创建光效层radial-gradient实现圆形光效,中心位置由CSS变量控制opacity过渡实现光效的淡入淡出preserve-3d为3D倾斜效果做准备
JavaScript交互
JavaScript部分实现了光效跟随和点击倾斜效果:
const button = document.getElementById('tiltButton');

// 光效跟随鼠标
button.addEventListener('mousemove', function(e) {
    const rect = this.getBoundingClientRect();
    const x = e.clientX - rect.left;
    const y = e.clientY - rect.top;

    this.style.setProperty('--mouse-x', `${x}px`);
    this.style.setProperty('--mouse-y', `${y}px`);
});

// 点击倾斜效果
button.addEventListener('click', function(e) {
    const rect = this.getBoundingClientRect();
    const x = e.clientX - rect.left;
    const y = e.clientY - rect.top;
    const centerX = rect.width / 2;
    const centerY = rect.height / 2;
    const offsetX = (x - centerX) / centerX;
    const offsetY = (y - centerY) / centerY;
    const tiltX = offsetY * 10;
    const tiltY = -offsetX * 10;

    this.style.transform = `rotateX(${tiltX}deg) rotateY(${tiltY}deg) scale(0.98)`;

    setTimeout(() => {
        this.style.transform = 'rotateX(0) rotateY(0) scale(1)';
    }, 200);
});
技术要点
- 动态光效实现:
- 使用CSS变量(–mouse-x, –mouse-y)动态更新光效位置
radial-gradient创建圆形渐变光效- JavaScript实时计算鼠标位置并更新CSS变量
- 3D倾斜效果:
- 基于点击位置计算旋转角度
rotateX和rotateY实现3D倾斜transform-style: preserve-3d保持3D变换
- 性能优化:
- 使用CSS过渡(transition)实现平滑动画
pointer-events: none避免伪元素干扰交互- 合理限制动画时间和复杂度